How to Fix Bare Spots in Lawn: Methods That Work
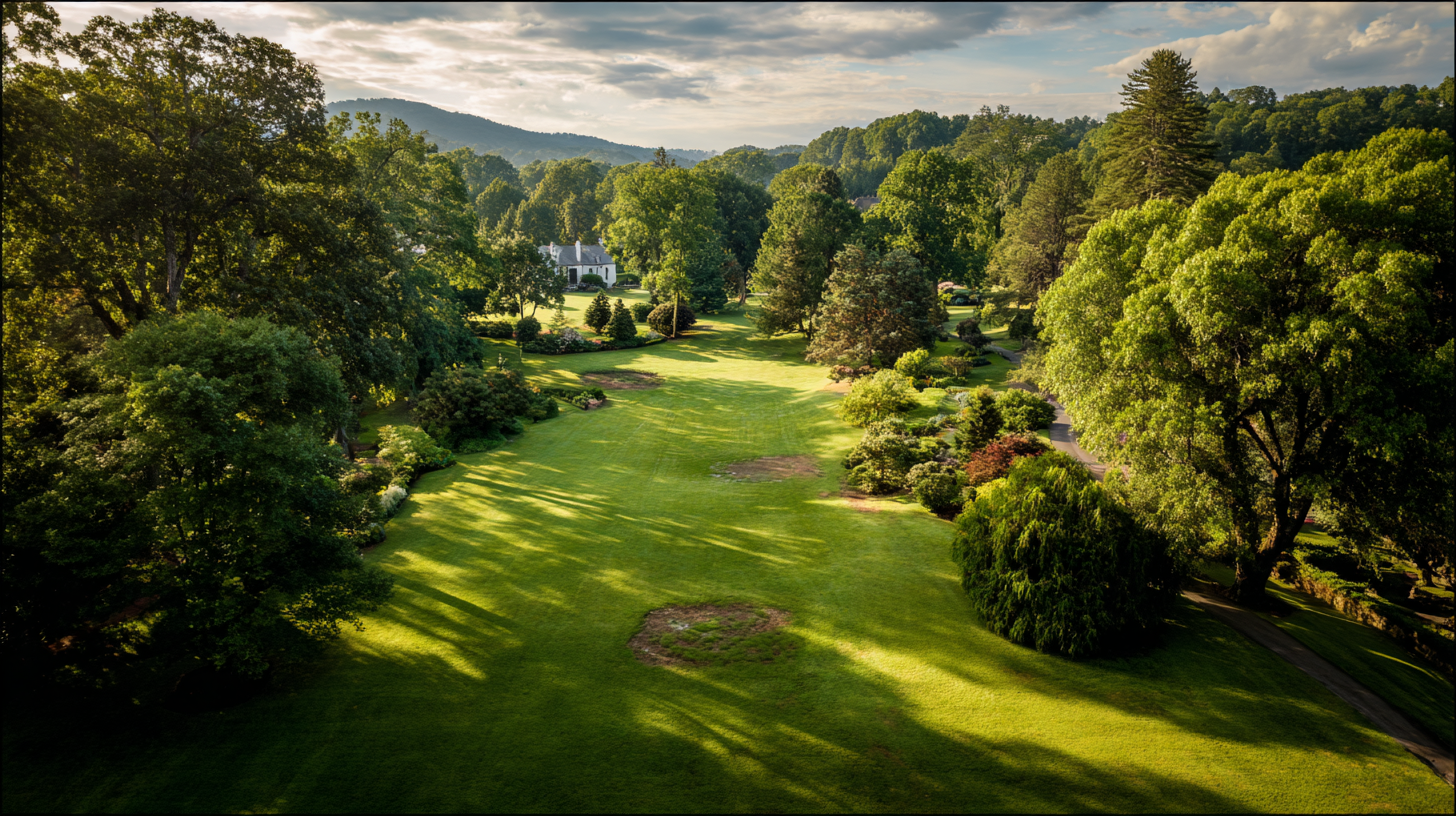
If you want to know how to fix bare spots in lawn areas around your Asheville, NC property, you are in the right place. Bare patches steal the beauty from an otherwise stunning yard, and they tend to spread when left untreated. At Hutch N Son Landscaping, our father and son team has spent more than 50 years restoring lawns across Asheville and Biltmore Forest, and we know exactly what it takes to bring patchy, tired grass back to full, lush health.
Key Takeaways
Fixing bare spots in your lawn starts with finding the root cause, choosing the right repair method, and following through with consistent care. Professional lawn repair combines proven techniques with proper timing and quality materials to restore your grass to full health and beauty.
- Identify the root cause of bare spots before starting any repair work
- Choose the right repair method based on spot size and grass type
- Timing your repairs with seasonal growth patterns improves success rates
- Proper soil preparation is essential for lasting results
- Follow-up care determines whether your repair efforts will thrive long-term
What Causes Bare Spots in Your Lawn?
Before you can learn how to fix bare spots in lawn areas effectively, you need to understand what created them in the first place. Bare spots appear for dozens of reasons, and each cause requires a different approach. After more than 50 years of restoring damaged lawns across Asheville and the surrounding region, we have learned that skipping this diagnostic step leads to repeated failures and frustrated homeowners.
Common culprits include compacted soil from constant foot traffic or play areas, chemical burns from fertilizer spills or pet urine, fungal diseases that kill grass in circular patterns, and pest damage from grubs or other insects. Weather extremes also play a role. Drought stress weakens grass roots, while excessive moisture encourages fungal problems. Understanding the specific cause in your yard helps us select the most effective lawn fertilization program and care approach for each situation. We always start by examining your lawn carefully before recommending any repair strategy.
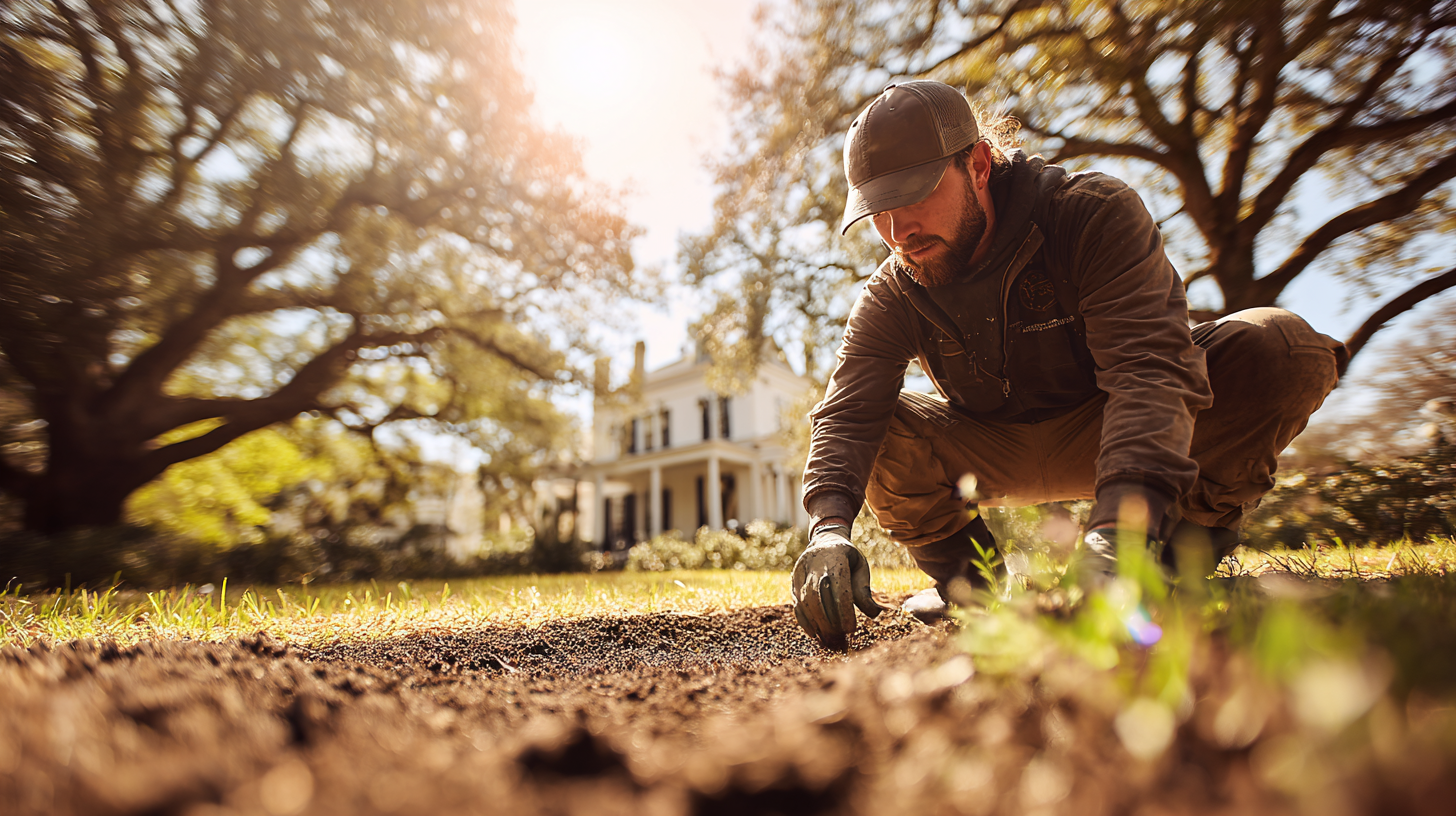
How to Fix Bare Spots in Lawn with Overseeding
For bare areas smaller than a dinner plate, overseeding with quality grass seed offers the most cost-effective solution. This is one of the most practical methods for how to fix bare spots in lawn settings where the damage is localized and the surrounding turf is still healthy. Start by removing dead grass and debris, then loosen the soil surface with a rake or hand cultivator to give seeds a place to settle and take root.
Choose seed that matches your existing lawn type. Fescue, bermuda, and other grass varieties each carry different growing requirements and visual characteristics. Our fescue vs bermuda grass comparison can help you identify which type suits your Asheville lawn best. Apply seed at the recommended rate, then cover lightly with a thin layer of quality topsoil or compost. Water gently but consistently, keeping the soil moist but not waterlogged until seedlings establish strong roots. This process typically takes two to three weeks for cool-season grasses and slightly longer for warm-season varieties. Our design team often recommends this method for homeowners who want to handle smaller repairs themselves between professional visits.
Timing Your Seeding for Best Results
Cool-season grasses like fescue perform best when seeded in early fall or early spring, when temperatures stay moderate and natural rainfall supports germination. Warm-season grasses prefer late spring planting after soil temperatures reach consistent warmth. Avoid seeding during summer heat or winter freezes, as extreme temperatures stress young seedlings and reduce success rates significantly. In Asheville, early September through October is often the ideal window for fescue repairs, giving roots time to establish before the first frost arrives.
Sod Installation for Bare Spots That Need Immediate Coverage
Large bare areas, or spots in high-visibility locations like a Biltmore Forest front yard, benefit from sod installation for instant coverage and immediate usability. Fresh sod provides mature grass that establishes quickly when properly installed over well-prepared soil. We remove damaged grass and debris, then add quality topsoil to create a level surface that matches the surrounding grade. This prevents low spots that collect water and create new problems down the road.
Cut sod pieces to fit snugly against existing grass edges, avoiding gaps or overlaps that create weak spots. Water thoroughly immediately after installation, then maintain consistent moisture for the first two weeks while roots grow into the underlying soil. Quality sod from reputable suppliers contains healthy, disease-resistant grass varieties that integrate beautifully with established lawns.
According to the University of Georgia Extension, properly installed sod establishes 50% faster than seeded areas and provides immediate erosion control on slopes or high-traffic zones. This makes sod ideal for areas where quick results matter most, though the higher initial cost requires careful consideration of your budget and long-term professional landscape maintenance needs. We help you weigh both options honestly so you choose what is right for your property.
Soil Preparation: The Step That Determines Whether Your Repair Lasts
Poor soil conditions cause most lawn repair failures, which is why we spend considerable time preparing the foundation before adding any grass. Compacted soil prevents root penetration and water infiltration, while acidic or alkaline pH levels block nutrient uptake even in healthy grass varieties. If you want to know how to fix bare spots in lawn areas for good rather than just temporarily, soil preparation is the step you cannot afford to skip.
Test your soil pH and nutrient levels before starting repairs to identify specific deficiencies. Consider our lime application guide for lawn pH correction if your Asheville soil tests acidic, which is common throughout Western North Carolina. Break up compacted areas with a spading fork or rototiller, working to a depth of six to eight inches for best results. Add organic matter like compost or aged manure to improve soil structure and water retention. Clay soils benefit from coarse sand or perlite mixed in to improve drainage, while sandy soils need organic matter to retain moisture and nutrients over time.
Addressing Drainage Issues That Cause Recurring Bare Spots
Standing water kills grass roots and encourages the disease problems that create new bare spots season after season. If you notice the same areas going bare repeatedly, drainage is likely the underlying issue rather than the grass itself. Install drainage tile or create shallow swales to redirect excess water away from problem areas. French drains work well for persistent wet spots, while simple grading changes often solve minor drainage issues quickly and affordably. Our hardscaping expertise helps homeowners integrate proper drainage into their overall landscape design so that repairs stay looking beautiful long after we finish the work.
Professional Treatment Options for Persistent Bare Spot Problems
Some bare spot issues require professional intervention to achieve lasting results. Severe grub infestations need targeted pesticide applications timed to interrupt the insect life cycle at the right stage. Fungal diseases require specific fungicide treatments combined with improved air circulation and drainage. Soil contamination from chemical spills may need remediation before any grass will grow successfully, regardless of how carefully you seed or sod the area.
According to North Carolina State University Extension, professional soil testing reveals nutrient deficiencies and pH imbalances that home test kits often miss. Professional equipment also applies treatments more evenly and effectively than typical homeowner tools, which means faster recovery and fewer repeat treatments over time. We work with property owners across Asheville and Biltmore Forest to identify underlying causes and create comprehensive repair plans that address both immediate damage and long-term lawn health.
Our family has built lasting relationships with homeowners by taking the time to listen carefully to your ideas and understand each property’s unique challenges. Every project we take on is personal to us, because this is not just about bare spots and grass seed. It is about creating beautiful outdoor spaces that families enjoy for years to come. Professional assessment helps avoid repeated failures and wasted effort on residential properties throughout the area.
Why Asheville and Biltmore Forest Homeowners Trust Hutch N Son
With more than 50 years of family landscaping tradition behind every project, Hutch N Son Landscaping brings generational expertise to each lawn we restore. Our father and son approach means you get two sets of experienced eyes on your property and a team that genuinely cares about the outcome. We have served established communities like Biltmore Forest for decades, and many of our clients have trusted us through multiple generations of their own families.
We combine meticulous attention to detail with practical knowledge of Asheville’s unique soil types, climate patterns, and growing conditions. That combination means the repairs we make hold up through Western North Carolina’s varied seasons rather than failing at the first summer drought or fall frost. When you work with us, you are not hiring a crew that moves from job to job. You are building a relationship with craftsmen who treat your property as if it were their own.
Frequently Asked Questions
How long does it take for bare spot repairs to show results?
Seed-based repairs typically show green shoots within 7 to 14 days, with full coverage developing over 6 to 8 weeks depending on watering consistency and weather conditions. Sod provides immediate visual coverage but needs 2 to 3 weeks to establish strong roots into the underlying soil before it can handle normal foot traffic. Cool-season grasses like fescue germinate faster in the mild temperatures of Asheville’s fall and spring seasons, so timing your repair to those windows accelerates results noticeably. Warm-season grass varieties take a bit longer overall but tend to be more heat-tolerant once established.
Can I repair bare spots during summer heat?
Summer repairs face higher failure rates for seed-based methods because high soil temperatures and inconsistent moisture stress young seedlings before they can establish roots. If you need to address a bare spot during summer in Asheville, sod is a more reliable option than seeding since it arrives with a mature root system already in place. If you choose to seed during summer, water twice daily during the early morning and evening to keep soil temperature down and maintain moisture. For most homeowners, we recommend waiting until early fall for seed-based repairs, as the cooler temperatures and natural rainfall typical of September and October in Western North Carolina create ideal germination conditions.
How do I stop my dog from creating bare spots in the lawn?
Pet urine burns are one of the most common bare spot causes we see on residential properties throughout Asheville. The high nitrogen concentration in dog urine essentially over-fertilizes small patches of grass, killing it quickly. The most practical long-term solution is to train your dog to use a designated gravel or mulch area rather than the lawn. For existing damage, flush the affected area with water immediately after your dog uses it to dilute the nitrogen before it burns the roots. Repair the bare patch using seed matched to your lawn type, then apply a thin compost layer to help the soil recover its balance. If the same spots keep dying despite repairs, consider having your soil tested, as repeated urine exposure can alter pH levels enough to prevent regrowth without correction.
What grass seed should I use to fix bare spots in an Asheville lawn?
Asheville’s climate and soil conditions favor tall fescue as the primary cool-season grass for most residential lawns in the area, including properties in Biltmore Forest. Tall fescue tolerates both the heat of Western North Carolina summers and the cooler fall and winter temperatures better than many other cool-season varieties. For sunny areas with well-drained soil, bermuda grass is a warm-season alternative that produces a dense, durable turf. The most important rule is to match your repair seed to whatever grass type already exists in your lawn. Mixing incompatible grass types creates a patchy, uneven appearance that is harder to correct later. Our fescue vs bermuda grass comparison walks you through the key differences so you can make a confident choice for your specific yard.
When should I call a professional instead of repairing bare spots myself?
DIY repairs work well for small isolated patches with a clear, simple cause like foot traffic or a one-time fertilizer spill. You should call a professional when bare spots keep returning in the same locations despite repeated repairs, when you notice circular or unusual patterns that suggest fungal disease or pest activity, or when multiple large areas of your lawn are affected at the same time. Grub infestations, soil contamination, persistent drainage problems, and systemic lawn diseases all require professional diagnosis and treatment to resolve. Attempting to repair the surface without addressing the underlying cause wastes time, money, and effort. Our team at Hutch N Son Landscaping serves homeowners across Asheville and Biltmore Forest and can assess your lawn, identify the true cause, and create a repair plan that delivers lasting results.
Ready to Restore Your Lawn? We Can Help You Fix Bare Spots for Good
Now that you understand how to fix bare spots in lawn areas using the right methods for each situation, the next step is deciding whether to tackle the repair yourself or bring in experienced professionals who have been doing this work across Asheville for over 50 years. Whether you have a single stubborn patch or widespread damage across your yard, our family team is ready to listen carefully to your goals and create a plan that makes your property shine. Reach out by phone or through our contact form and contact us today.